
The weather outside is… frightful!
We’ve enjoyed lots of snow (and snow days!) this past month and have admired many snowmen created within our community. Building a snowman is a memorable childhood activity. Bundling up as you head outside, rolling the snow to the correct size, and finding the decorative items is a core childhood memory. The fun didn’t stop there! Often after heading inside and taking off the endless layers, you may have warmed up with a cup of hot chocolate topped with marshmallows and whipped cream.
It may not seem obvious, but building a snowman offers endless learning opportunities. Children recall the items needed, follow the sequence in order, and decorate with specific items. If not done correctly, the snowman may not look..well, like a snowman!
While the snow has mostly melted, the cold weather is here to stay. Instead of heading outside to work on this skill, let’s cozy up inside and make a torn paper snowman.
Here are the items you will need for this craft:
- Buttons: small buttons, large buttons
- “Snow”: white sticker dots (or white paint!)
- Pom poms
- Blue cardstock
- White paper
- Googly eyes
- Liquid glue – we also used glue dots to help adhere some things!
- Pipe cleaners
- Construction paper
- Black dots
Now, let’s get into the fun!
1. First, tear away! Have your little one tear a few sheets of white paper. These paper shreds can be as big or as small as they’d like. This will make the snowman’s body.
SLP Tip: Talk to your child about the different sizes or shapes you make as you tear the paper. Tearing paper also is a great way to encourage fine motor skills.
2. Begin to arrange the paper shreds to look like a snowman on the blue cardstock. If your child needs help with the shape, first draw the 2 or 3 circles on the cardstock. This will provide them with a guideline as they organize the shreds. Once ready, glue the shreds to the cardstock.
SLP Tip: This step works on problem solving and visuospatial skills. Does the paper shred fit within the space? Does their shape look like a snowman? If not, what do they need to do to fix it?
3. Now it’s time to make the snowman’s face!
-
- Make the snowman’s mouth by using black sticker dots or a black marker.
- Adhere the googly eyes.
- Cut the orange paper to make the nose.
SLP Tip: Describe the locations of the facial features. The eyes are on top of the face, the nose is in the middle, etc. Discuss emotions the snowman could show or have them identify facial features on their own (or other’s) body!
4. Decoration time!
-
- The pipe cleaners and pom poms can be made into ear muffs.
- The white dots can be used to decorate as snow.
- Adhere different color or sized buttons.
- Use the construction paper to make the arms, hat and/or scarf.
SLP Tip: This step encourages planning and creativity. While your child decorates, ask them about the seasons (i.e. “when do you wear a coat?”, “why do we wear sunglasses?”, “what do you wear on your hands to keep them warm?”) or have them name all of the cold weather (or warm weather!) accessories they can think of.
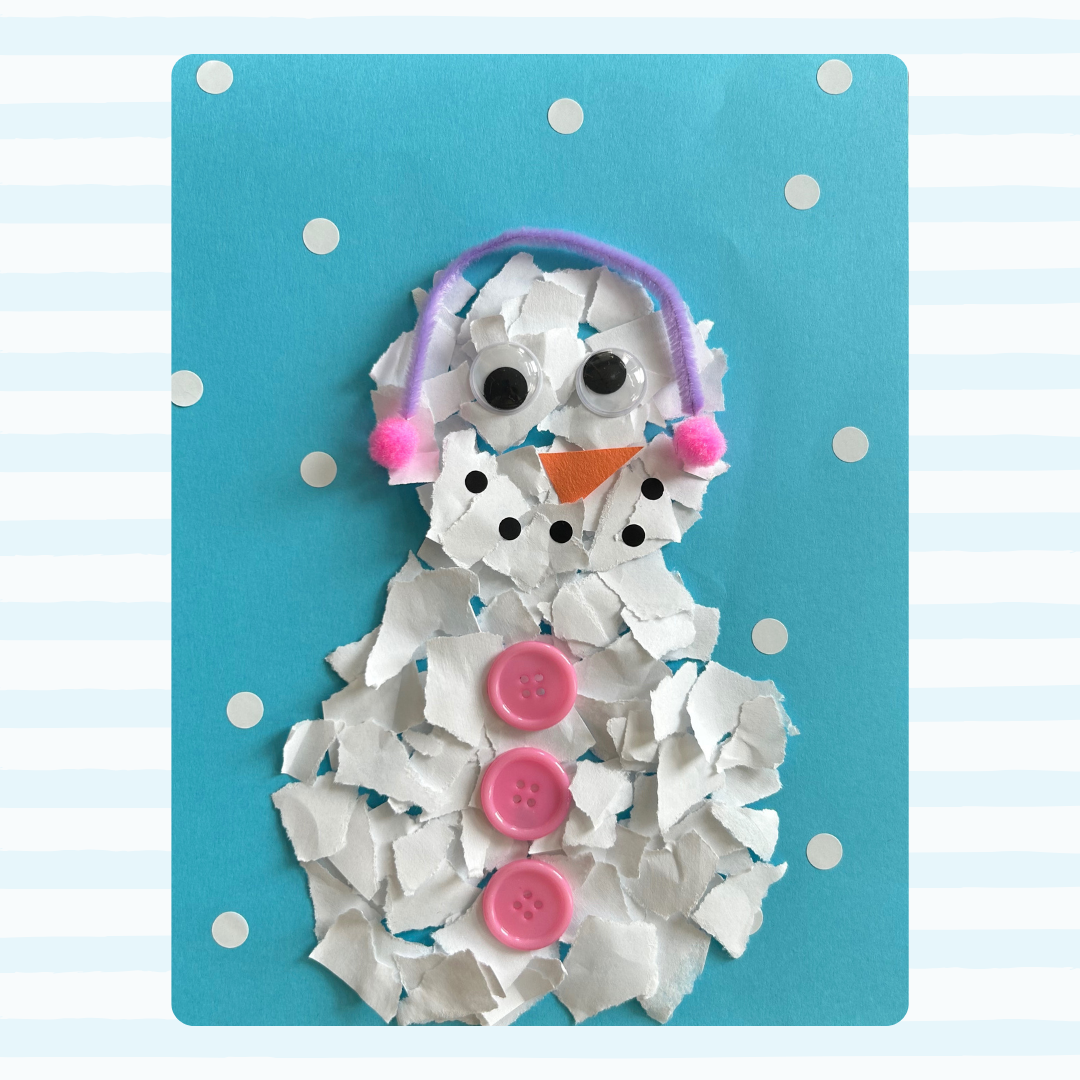
5. Ta-da! Your snowman is complete!
SLP Tip: Talk with your child about their snowman. Comment on the details you love, ask them questions about their craft, or have them generate a story about their snowman.